Cabinet Refacing Process: The Complete Step-by-Step Guide
The cabinet refacing process is one of the most cost-effective and efficient ways to transform your kitchen—without the upheaval, timeline, or price tag of a full remodel. By replacing only cabinet doors, drawer fronts, and surface veneers while keeping your existing cabinet boxes intact, refacing delivers a dramatic, brand-new look in as little as two to four days and at 30% to 50% less than total cabinet replacement. See What to Expect for a full walkthrough of installation day.
According to the National Kitchen and Bath Association, kitchen renovations are among the most popular home improvement investments in the United States—yet a full cabinet replacement regularly exceeds $25,000. The cabinet refacing process gives you comparable visual impact at a fraction of that investment. What to know before starting: from deciding whether your cabinets qualify, through material selection, installation, hardware, and what to watch for at every step.
Whether you’re comparing refacing to replacement, choosing between veneer and laminate, or want to know exactly what happens on installation day, what to expect.
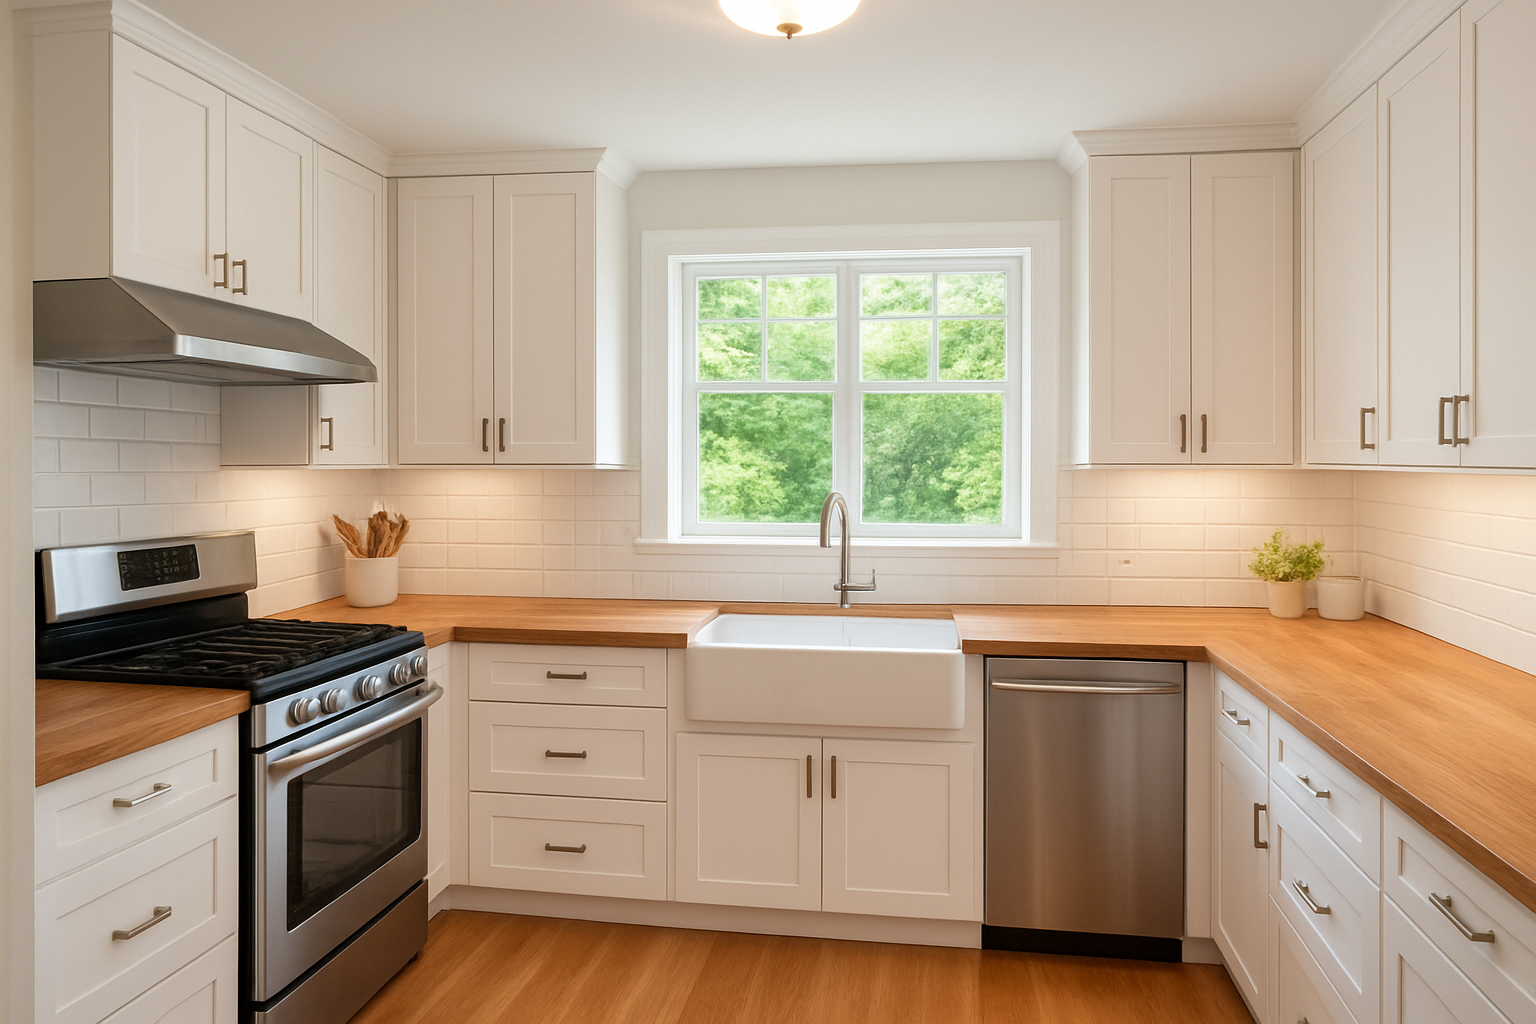
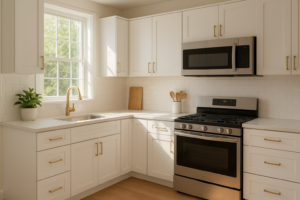
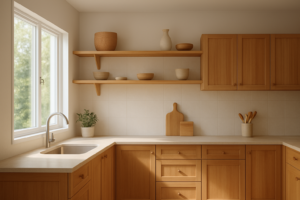
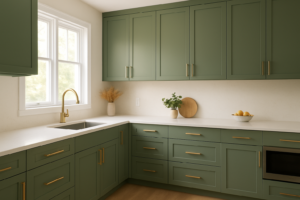
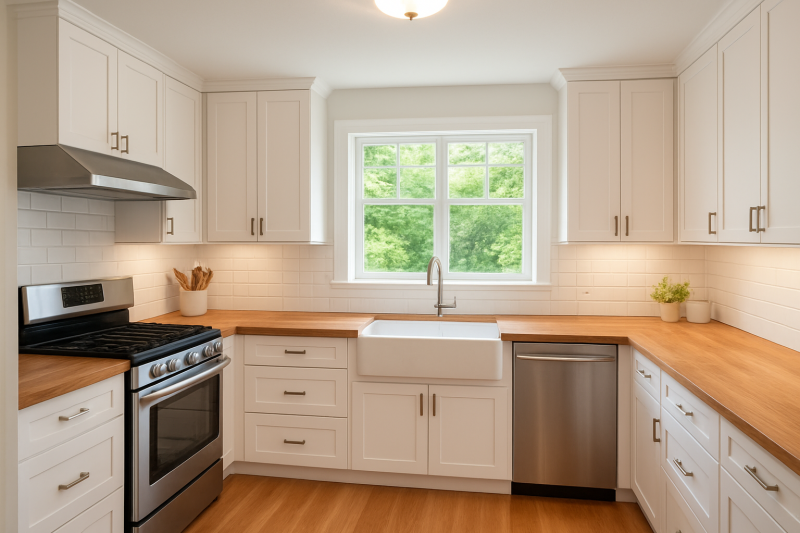
A finished cabinet refacing project delivers a dramatic kitchen transformation at a fraction of full remodel costs. For a deeper walkthrough, see our Benefits of Cabinet Refacing.
What Is the Cabinet Refacing Process?
The cabinet refacing process involves replacing the visible surfaces of your cabinets—the doors, drawer fronts, and exposed box faces—while leaving the underlying cabinet structure in place. Instead of gutting your kitchen and installing all-new cabinetry, a skilled installer covers the existing face frames and cabinet sides with a fresh veneer or laminate, then mounts new doors and drawer fronts in your chosen style.
The result looks and feels like a completely new kitchen, but with several key advantages:
- No plumbing or electrical disruption — existing cabinet boxes stay in position
- Dramatically shorter timeline — typically two to four days versus two to three weeks for full replacement
- Significantly lower cost — 30% to 50% less than tearing out and replacing all cabinetry
- Less household disruption — the kitchen remains partially functional throughout
- Environmentally responsible — reusing cabinet boxes reduces landfill waste, consistent with guidelines from the U.S. Environmental Protection Agency
Cabinet Refacing vs. Cabinet Replacement: A Quick Comparison
Step-by-Step: How the Cabinet Refacing Process Works
Understanding each stage of the cabinet refacing process helps you set realistic expectations, ask the right questions, and ensure you’re prepared for each day of the project. See our what to expect during refacing for a detailed breakdown from the first consultation to the final walkthrough.
- Step 1: Initial Assessment and Design Consultation Before any work begins, a professional installer evaluates every cabinet box for structural integrity. They check for warping, water damage, rot, loose joints, and pest damage. Only cabinets that are structurally sound qualify for refacing—and a trained eye catches problems a homeowner might miss. During this same visit, you’ll choose your preferred door style (shaker, flat-panel, raised-panel, glass-inset, etc.), material type (wood veneer, thermofoil, or laminate), color or finish, and hardware. Many refacing specialists bring sample boards and finish chips so you can see and feel exactly what you’re choosing before committing. Last updated: 2026-07-28. Author: Kitchen Transformations Cabinet Refacing.
-
Step 2: Precise Measurement and Material Ordering
After design selections are confirmed, the installer takes precise measurements of every cabinet box, door opening, and drawer front. Accurate measurement at this stage is critical—it ensures that custom-cut doors and pre-measured veneer sheets arrive ready to install with minimal waste and no costly remakes. Materials are typically ordered from a manufacturer and can take one to two weeks to arrive, which is why this step happens well before the installation date is scheduled.
-
Step 3: Remove Doors, Drawer Fronts, and All Hardware
On installation day, the first task is removing every cabinet door, drawer front, hinge, handle, and knob. Each piece is carefully labeled to eliminate confusion. The old components are set aside for disposal or recycling. Removing everything at once gives the installer unobstructed access to all cabinet surfaces and lets them spot any hidden issues—such as mold, moisture intrusion, or interior damage—before the new materials go on.
-
Step 4: Clean, Degrease, and Sand Cabinet Box Surfaces
This is one of the most important and most frequently underestimated steps in the entire cabinet refacing process. All visible cabinet surfaces—face frames, sides, and exposed edges—are thoroughly cleaned with a degreasing agent to remove years of cooking residue, grease, and grime. After cleaning, surfaces are lightly sanded to create the mechanical texture that allows adhesive to bond properly. Skipping or rushing this step is the number-one cause of veneer failure, bubbling, or peeling down the road. A professional never cuts corners here.
-
Step 5: Apply Veneer or Laminate to All Cabinet Box Surfaces
Once surfaces are prepped, the new material is applied. The installer precisely cuts veneer or laminate sheets to size, then adheres them to all visible cabinet surfaces—including face frames, side panels, and any exposed end panels visible from the room. A roller or squeegee tool presses out air pockets and ensures a tight, seamless bond. Edge banding is applied to exposed edges for a finished, professional look on all visible trim lines. Precise trimming at corners and seams is what separates a high-quality refacing job from a mediocre one.
-
Step 6: Install New Cabinet Doors and Drawer Fronts
With the cabinet boxes freshly veneered, new doors and drawer fronts are hung using new concealed hinges. The installer carefully aligns every door for consistent reveals—the even gaps between adjacent doors and between doors and frames. Consistent reveals are a hallmark of professional installation quality. Drawer fronts are likewise aligned vertically and horizontally for a uniform, symmetrical appearance. Any adjustments to hinge positioning are made during this stage before hardware is permanently attached.
-
Step 7: Install New Hardware and Accessories
New handles, knobs, and pulls are installed to complete the transformation. If soft-close hinges or drawer glides are being upgraded as part of the project, they’re installed at this stage as well. Hardware selection is often underestimated in its visual impact—choosing the right finish (brushed nickel, matte black, oil-rubbed bronze, brass) can tie together the entire design and modernize the kitchen’s overall feel. Some homeowners also add pull-out shelves, lazy Susans, or under-cabinet lighting during this phase for added functionality.
-
Step 8: Final Inspection and Quality Walkthrough
Before the project is declared complete, the installer conducts a thorough inspection of every door, drawer, seam, and hardware piece. They check for consistent reveals, smooth veneer edges, secure hardware, and proper drawer alignment. Any final micro-adjustments are made on the spot. A professional finisher will also wipe down all surfaces, leaving your kitchen clean and ready to use. The homeowner is then walked through the completed work to confirm satisfaction before the installer leaves.
How to Know If Your Cabinets Qualify for Refacing
Not every cabinet can—or should—be refaced. Understanding the qualifying criteria before you commit saves time and prevents unpleasant surprises during the project. A professional assessment is always the definitive answer, but these general guidelines can help you gauge your situation in advance.
Cabinets That Are Good Candidates for Refacing
- Cabinet boxes are structurally sound with no significant warping, rot, or water intrusion
- The existing kitchen layout works well for your lifestyle—you don’t need to add, remove, or relocate cabinets
- Drawers slide properly and the boxes are square and level
- Cabinet interiors (shelves and insides of boxes) are in acceptable condition
- You want a significant aesthetic update without changing the footprint of your kitchen
Cabinets That May Need Full Replacement Instead
- Significant water damage, mold, or rot inside or on the box surfaces
- Structural warping or bowing that cannot be corrected
- Particle board boxes that have swollen or delaminated from moisture exposure
- You want to completely change the kitchen layout, relocate cabinets, or add new cabinet runs
- Cabinets were previously poorly built or installed with major squareness issues
Choosing the Right Material for Your Cabinet Refacing Project
Material selection is one of the most consequential decisions in the cabinet refacing process. Learn the benefits of refacing and how each material option affects durability, cost, and appearance.
Wood Veneer
Wood veneer consists of thin slices of real wood bonded to a stable backing, then adhered to the cabinet surface. It offers an authentic, warm, natural appearance that cannot be fully replicated by synthetic materials. Wood veneer can be stained in virtually any shade, from light maple to rich espresso, and it can also be painted for a crisp, modern look.
- Best for: Traditional, transitional, and farmhouse styles; homeowners who want a genuine wood appearance
- Maintenance: Requires protection from sustained moisture; clean with mild soap and water only
- Longevity: Excellent with proper care; can be refinished if scratched
- Cost: Mid-to-high range among refacing material options
Rigid Thermofoil (RTF)
Thermofoil is a vinyl film that is heat-pressed onto a medium-density fiberboard (MDF) core. The result is a seamless, uniform finish with no grain variation—ideal for contemporary and transitional kitchens. It became widely adopted in cabinet manufacturing during the 1980s and remains one of the most popular refacing options today due to its durability and range of available colors.
- Best for: Contemporary, minimalist, and high-traffic kitchens; families with young children
- Maintenance: Wipes clean easily; highly resistant to moisture and staining
- Longevity: Very durable; can peel at edges if exposed to prolonged, direct heat near appliances
- Cost: Generally the most budget-friendly option among professional materials
High-Pressure Laminate (HPL)
Laminate is produced by bonding decorative paper or foil layers under high heat and pressure to form an extremely hard, stable surface sheet. It is highly resistant to scratches, impact, and moisture—making it one of the most practical choices for busy households. Modern laminate is available in an enormous range of colors, solid tones, and convincing wood-grain patterns.
- Best for: Households that prioritize durability; modern and industrial-style kitchens
- Maintenance: Very easy to clean; resists everyday kitchen wear well
- Longevity: Excellent scratch and moisture resistance; not refinishable if deeply damaged
- Cost: Mid-range; higher quality than standard peel-and-stick products
Popular Cabinet Door Styles for Refacing Projects
The cabinet refacing process allows you to change your door style entirely. Common choices include: For a deeper walkthrough, see our Bath and Cabinet Experts: Refacing Tips & Ideas.
- Shaker: Clean, recessed-panel style; the most popular choice for both traditional and contemporary kitchens
- Flat-panel (slab): Completely smooth face; sleek and modern; pairs well with thermofoil or high-gloss laminate
- Raised panel: Traditional architectural detailing with a raised center panel; classic and formal
- Glass-inset: A section of glass replaces part of the door panel; adds visual depth and display opportunities
- Beadboard: Vertical grooved detailing on the panel face; charming and cottage-inspired
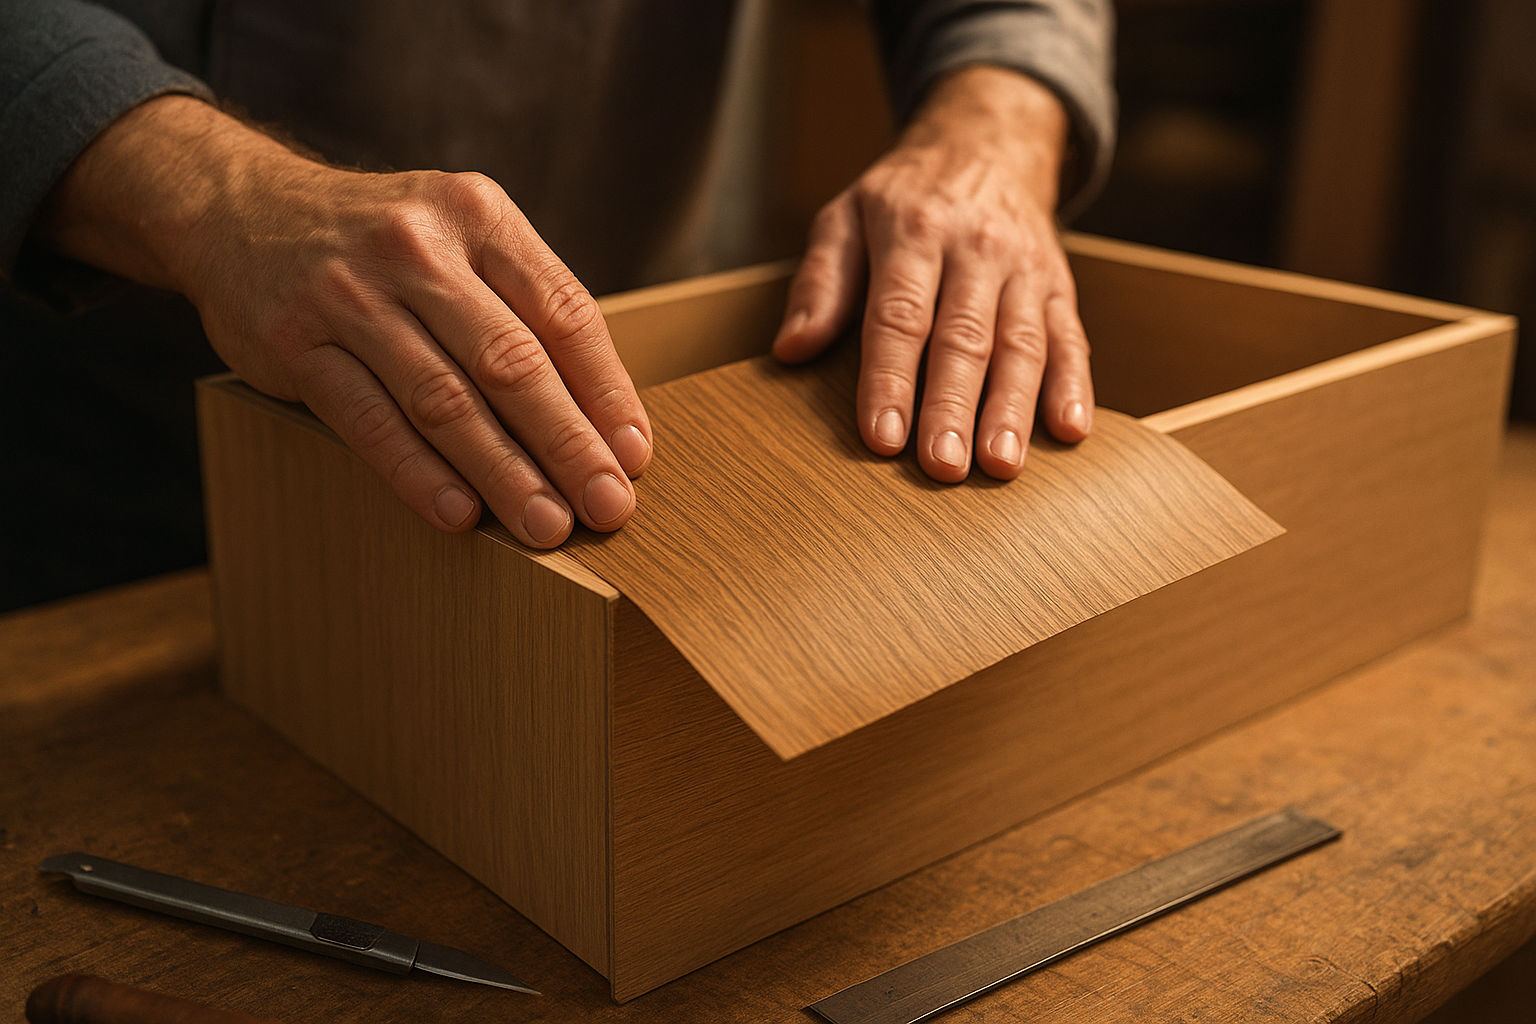
Precise veneer application is one of the most skill-intensive steps in the cabinet refacing process. For a deeper walkthrough, see our Does Cabinet Refacing Increase Home Value? The Complete ROI Guide.
How Long Does the Cabinet Refacing Process Take?
Timeline is one of the most important factors homeowners consider when evaluating the cabinet refacing process. The full project—from the first consultation to final installation—typically spans two to three weeks, with the actual hands-on installation taking just two to four days for most average-sized kitchens. Read our timeline guide for sample schedules by kitchen size.
Pre-Installation Phase (One to Two Weeks)
After the initial consultation, design selections, and measurements are finalized, custom doors and material orders are placed with the manufacturer. This lead time typically runs one to two weeks depending on material choices and the installer’s supplier relationships. During this window, the homeowner doesn’t need to do anything except clear their schedule for the installation days.
Day-by-Day Installation Breakdown
- Day 1: All doors, drawer fronts, and hardware are removed. Surfaces are cleaned, degreased, and sanded. Veneer application begins on face frames and visible side panels.
- Day 2: Veneer application is completed. New doors are pre-checked and fitting begins. Early door hanging may begin on larger kitchens.
- Day 3: Doors are fully hung and aligned. Hardware installation begins. Drawer fronts are mounted and leveled.
- Day 4 (if needed): Final hardware is installed. Adjustments are made to reveals, alignment, and drawer tracking. Final quality inspection and homeowner walkthrough complete the project.
Throughout the installation period, your refrigerator, sink, and basic kitchen functions remain accessible. The kitchen is not fully operational during active work hours, but the disruption level is dramatically lower than during a full cabinet replacement, which can leave a kitchen unusable for weeks.
How Much Does Cabinet Refacing Cost?
Cost is a primary motivation for most homeowners who choose the cabinet refacing process. While exact pricing varies by region, kitchen size, material choice, and door complexity, the following ranges reflect typical professional refacing projects in the United States.
Factors That Affect Cabinet Refacing Cost
- Material choice: Thermofoil is generally least expensive; real wood veneer carries the highest cost
- Door style complexity: Decorative routed profiles, glass insets, and custom shapes cost more than simple flat-panel or shaker doors
- Number of cabinets and drawers: More doors mean more material, more labor, and more hardware
- Add-ons: Soft-close hardware upgrades, pull-out shelves, under-cabinet lighting, or new drawer glides add to the final total
- Geographic location: Labor rates vary significantly by region and local market
Key Takeaway: The cabinet refacing process typically costs 30% to 50% less than full cabinet replacement—delivering the vast majority of the visual impact at a fraction of the investment. For most homeowners whose cabinets are structurally sound, refacing is the smarter financial decision. For a deeper walkthrough, see our Is Cabinet Refacing Worth It vs Full Replacement? A Complete Comparison.
How to Prepare Your Kitchen for the Cabinet Refacing Process
Proper preparation before installation day ensures the project runs smoothly and on schedule. Most of the preparation responsibility falls on the installer—but there are important steps homeowners should take as well.
Homeowner Preparation Checklist
- Empty all items from cabinet interiors and drawers—this protects your belongings and gives the installer unobstructed access
- Clear countertops completely to provide a clean work surface for the installer’s tools and materials
- Remove any items stored on top of upper cabinets
- Ensure the installation area has clear access—move chairs, kitchen islands on wheels, or any furniture that could obstruct movement
- Plan alternative meal arrangements for the installation days (takeout, microwave meals, or temporary hot plate setup elsewhere in the home)
- Confirm your chosen designs, materials, and hardware with the installer before the installation date
What the Installer Handles
- All technical surface preparation including cleaning, degreasing, and sanding
- Door and hardware removal and organized staging
- Veneer or laminate application, trimming, and edge banding
- Door hanging, alignment, and reveal adjustment
- Hardware installation and final quality walkthrough
Why Professional Installation Outperforms DIY Cabinet Refacing
DIY cabinet refacing kits are available at home improvement retailers, and while they seem appealing for cost savings, the gap in quality between a DIY attempt and professional installation is significant. Understanding the differences helps you make a more informed decision.
Common DIY Cabinet Refacing Problems
- Veneer bubbling or peeling: Caused by inadequate surface prep or improper adhesive application—the most common DIY failure mode
- Misaligned doors: Uneven reveals and crooked doors are extremely difficult to fix retroactively
- Visible seams at corners: Requires professional-grade trimming skill to achieve seamless transitions
- Inadequate edge banding: Exposed raw edges look unfinished and are vulnerable to moisture and chipping
- Incorrect hinge installation: Can result in doors that don’t close properly or swing unevenly
What a Professional Cabinet Refacing Specialist Brings
- Precision tools for seamless veneer application, trimming, and edge finishing
- Experience to identify and address structural issues before they become problems
- Access to commercial-grade materials not available in retail kits
- Knowledge of proper adhesive selection for different material types and temperatures
- Warranty coverage on workmanship—giving you protection that DIY cannot provide
- A finished result that looks factory-installed and stands up to years of daily kitchen use
For Cincinnati homeowners, consulting a local cabinet refacing specialist is the best first step toward understanding your options and receiving an accurate project estimate. Learn what's included in refacing services and what to expect from a professional estimate. You can also browse completed projects in the Kitchen Transformations project gallery for real-world inspiration.
How Long Do Refaced Cabinets Last — and How to Maintain Them
A professionally completed cabinet refacing project, using quality materials and proper installation technique, can last 15 to 20 years or longer. However, longevity depends heavily on two factors: the quality of materials used and how well the cabinets are maintained after installation.
Maintenance Tips for Refaced Cabinets
- Clean regularly: Wipe cabinet surfaces weekly with a soft damp cloth and mild dish soap. Avoid abrasive cleaners or scrubbing pads on all veneer and thermofoil surfaces.
- Dry immediately after cleaning: Standing moisture is the primary enemy of all cabinet facing materials. Always dry surfaces promptly after wiping.
- Protect from heat: Keep heat-generating appliances (toasters, kettles, coffee makers) slightly away from cabinet faces and undersides. Sustained heat can affect thermofoil adhesion over time.
- Use hardware when opening: Always open doors and drawers by their handles—never by pushing on the veneer face, which can stress the edge bonds.
- Address chips early: If an edge of veneer lifts or a small chip appears, address it promptly with a touch of appropriate adhesive before the problem expands.
- Control kitchen humidity: Proper ventilation (range hood use, exhaust fans) protects all cabinet materials from prolonged moisture exposure.
Does Cabinet Refacing Add Value to Your Home?
Kitchen improvements are consistently cited by real estate professionals as among the highest-return home improvement investments. The kitchen is often the most scrutinized room during a home showing, and outdated, worn cabinetry can be an immediate red flag for prospective buyers.
Cabinet refacing modernizes the most visible element of the kitchen at a fraction of what a full remodel costs. While the exact return on investment varies by market and project quality, updated cabinetry consistently improves buyer perception, reduces time on market, and supports higher asking prices in comparable property analyses.
For homeowners planning to sell within three to seven years, the cabinet refacing process often represents an excellent balance of cost, impact, and return—updating the kitchen’s appearance without over-investing in a property relative to neighborhood comps.
Quick Summary: The cabinet refacing process replaces cabinet doors and drawer fronts and applies a new veneer or laminate to the existing cabinet box surfaces. It takes two to four installation days, costs 30–50% less than full replacement, and can last 15 to 20 years with proper care. It’s ideal for kitchens with structurally sound boxes where a style update—not a layout change—is the goal.
Frequently Asked Questions About the Cabinet Refacing Process
What exactly does the cabinet refacing process involve?
The cabinet refacing process involves applying new veneer or laminate to existing cabinet box surfaces (face frames, sides, and exposed edges), then replacing all cabinet doors and drawer fronts with new ones in your chosen style. The underlying cabinet structure remains in place—only the visible surfaces are updated. The result is a completely refreshed kitchen appearance without the cost or disruption of full cabinet replacement.
How long does the cabinet refacing process take from start to finish?
The full timeline from initial consultation to completed installation typically runs two to three weeks, with the hands-on installation portion taking two to four days for most average-sized kitchens. The bulk of the waiting period is material ordering lead time. Actual installation is dramatically faster than a full cabinet replacement, which can take two to four weeks or longer.
How much does cabinet refacing cost compared to full replacement?
Professional cabinet refacing typically costs 30% to 50% less than full cabinet replacement. A small kitchen refacing project may run $3,500–$6,500, while full replacement of the same kitchen could cost $12,000–$18,000 or more. Costs vary based on material selection, number of cabinets, door style complexity, and regional labor rates.
What materials are used in the cabinet refacing process?
The three main materials used in cabinet refacing are wood veneer (real wood slices bonded to a backing), rigid thermofoil or RTF (vinyl film heat-pressed onto MDF), and high-pressure laminate. Each offers different aesthetics, durability characteristics, and price points. Wood veneer provides the most natural look; thermofoil is easiest to clean; laminate is most scratch-resistant. Your installer can help match the right material to your lifestyle and design goals.
Can I change my cabinet door style during the refacing process?
Yes—and this is one of the most compelling benefits of the cabinet refacing process. Since doors and drawer fronts are fully replaced, you can choose an entirely different style. You can update from dated raised-panel doors to clean shaker-style doors, add glass insets, switch to flat-panel slab doors, or choose any profile your installer offers. This level of design flexibility is a major reason homeowners choose refacing over simple repainting.
Do all cabinets qualify for the refacing process?
Most cabinets with structurally sound boxes qualify for refacing. For a full walkthrough of what the on-site evaluation covers and common repair checks, see what a refacing project entails.
Does cabinet refacing include new hardware?
Yes. New hinges, handles, and knobs are typically included in a professional refacing project. Hardware selection—finish, style, and size—has a significant impact on the final look. Many homeowners also choose to upgrade to soft-close hinges and drawer glides at the same time, which is straightforward to incorporate during the refacing installation.
Should I choose professional installation or DIY for cabinet refacing?
Professional installation is strongly recommended. Veneer application requires precision to avoid bubbling, peeling, and visible seams—problems that are very common in DIY attempts. Door alignment, edge banding, and hinge installation all require experience to achieve a polished, long-lasting result. Professionals also use commercial-grade materials and adhesives not available in retail kits, and most offer workmanship warranties that DIY cannot provide.
How do I prepare my kitchen for the cabinet refacing process?
Before installation day, empty all cabinet contents and drawers, clear countertops completely, and ensure the work area is free of obstructions. Plan for alternative meal options during the installation period. Your installer handles all technical preparation—cleaning, degreasing, and sanding surfaces—so you don’t need to prep the cabinet surfaces yourself.
How long do refaced cabinets last?
With professional installation and quality materials, refaced cabinets typically last 15 to 20 years or longer. Longevity depends on the material selected, how well the cabinets are cleaned and maintained, and the level of heat and moisture they’re exposed to over time. Following proper care guidelines—regular gentle cleaning, avoiding abrasive products, and protecting from sustained heat—maximizes the lifespan of your investment.
Does the cabinet refacing process add value to my home?
Yes. An updated kitchen—particularly modernized cabinetry—is consistently one of the most influential factors in home buyer decisions. Cabinet refacing delivers a significantly improved kitchen appearance at a cost-effective price point, making it a smart investment for homeowners who plan to sell. Updated cabinets improve buyer perception, support competitive pricing, and can reduce time on market.
Can soft-close hardware be added during the cabinet refacing process?
Absolutely. Adding soft-close hinges and drawer glides during a refacing project is one of the most popular hardware upgrades homeowners choose. Since all hardware is being removed and replaced anyway, incorporating soft-close mechanisms during installation adds minimal extra time and provides a noticeable improvement in everyday kitchen functionality.
Is the Cabinet Refacing Process Right for Your Kitchen?
The cabinet refacing process is one of the smartest, most impactful kitchen improvements available to homeowners. It delivers a complete visual transformation in as little as two to four days, at 30% to 50% less than full cabinet replacement, with minimal disruption to your household routine. By reusing existing cabinet boxes, it also reduces construction waste and aligns with responsible, sustainable home improvement practices.
If your cabinet boxes are structurally sound, your kitchen layout works for you, and your primary goal is a dramatic aesthetic update—refacing is almost certainly the right choice. The combination of speed, cost savings, design flexibility, and lasting quality makes it a compelling alternative to full replacement in the vast majority of situations.
For homeowners in the greater Cincinnati area, Kitchen Transformations Cabinet Refacing offers skilled, personalized service tailored to your design vision, lifestyle, and budget. Their focused expertise in the cabinet refacing process makes them a trusted local resource for meaningful kitchen improvements that deliver lasting value and daily satisfaction.
Ready to take the next step? Schedule a consultation, review your material and door style options, and let a professional guide you through a cabinet refacing process that leaves your kitchen looking and functioning better than ever. Last updated: 2026-07-08; Author: Kitchen Transformations Cabinet Refacing.