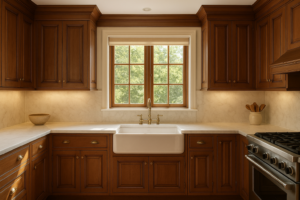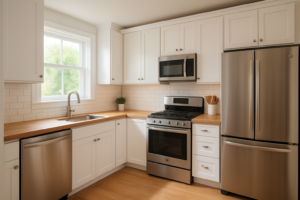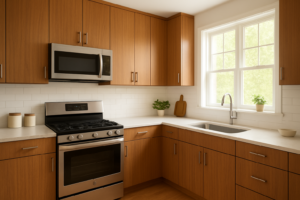
Kitchen cabinet installation is one of the highest-impact investments a homeowner can make — transforming how a kitchen looks, functions, and feels every single day. But it’s also one of the most expensive and disruptive remodeling projects you can undertake. This guide walks you through every step of the process, covers real cost breakdowns, compares DIY vs. professional installation, and explains when a smarter alternative like cabinet refacing may deliver everything you want at a fraction of the price. For design inspiration, see cabinet design solutions.
According to the U.S. Census Bureau, kitchen remodeling ranks among the top home improvement projects undertaken each year. The National Kitchen and Bath Association reports that a major kitchen remodel costs between $25,000 and $50,000 on average — with cabinetry representing the single largest line item in most budgets. Understanding what you’re paying for, and whether you truly need a full installation, is the first step toward making a decision you’ll feel good about for years. This guide is published by Kitchen Transformations; Last updated: 2026-07-08.
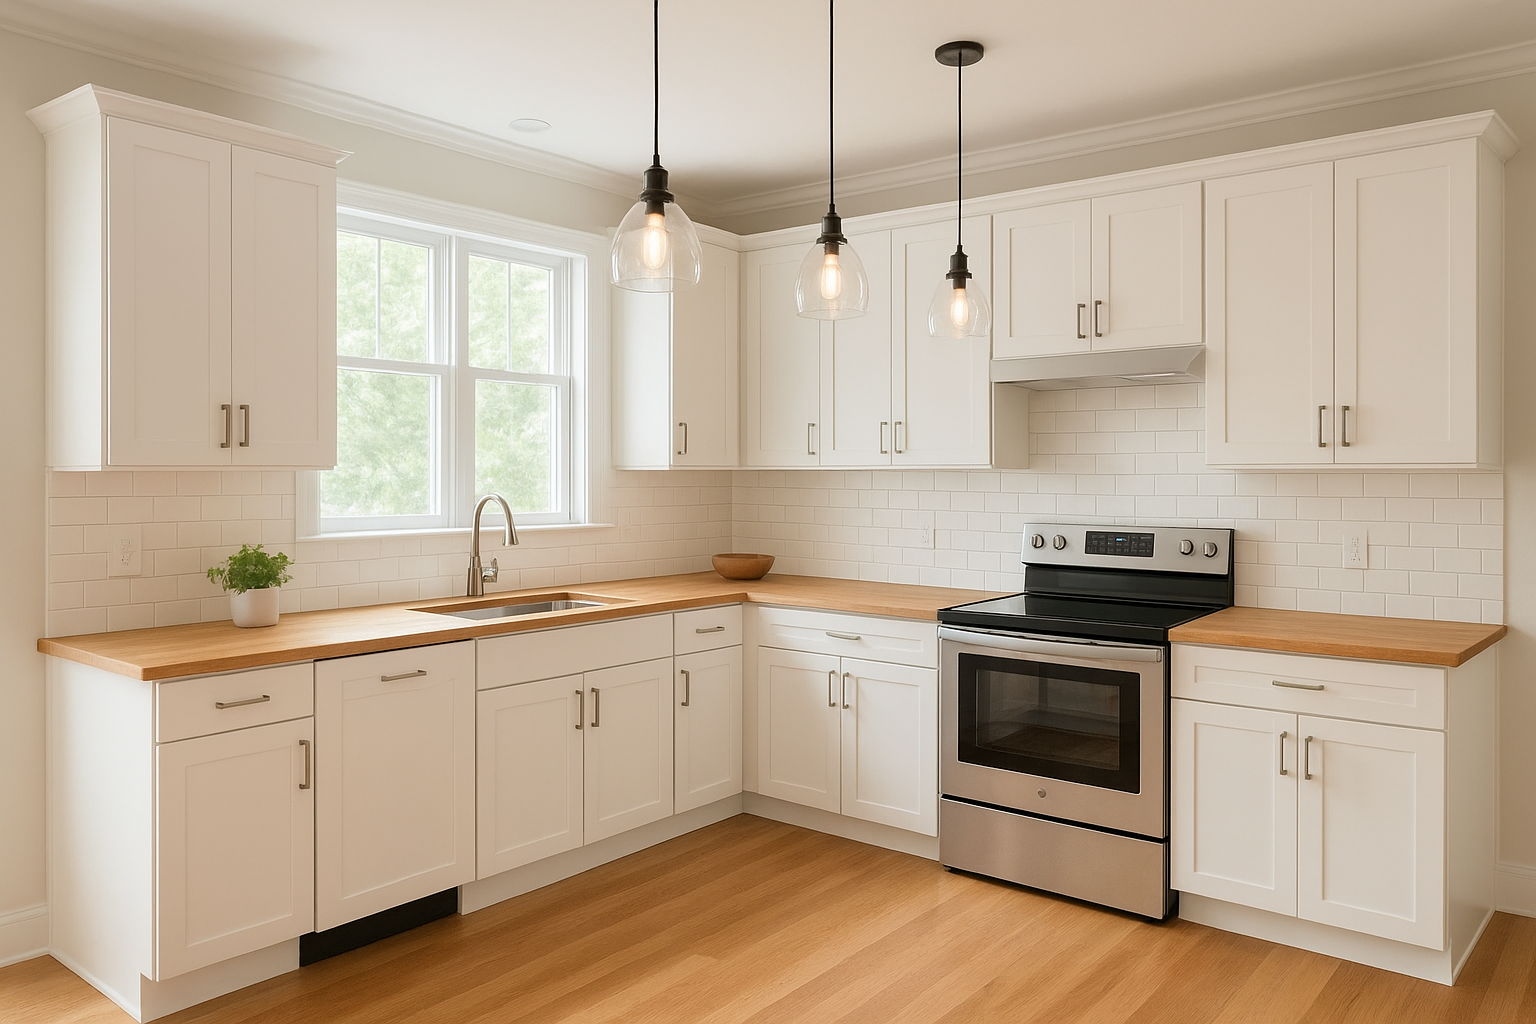
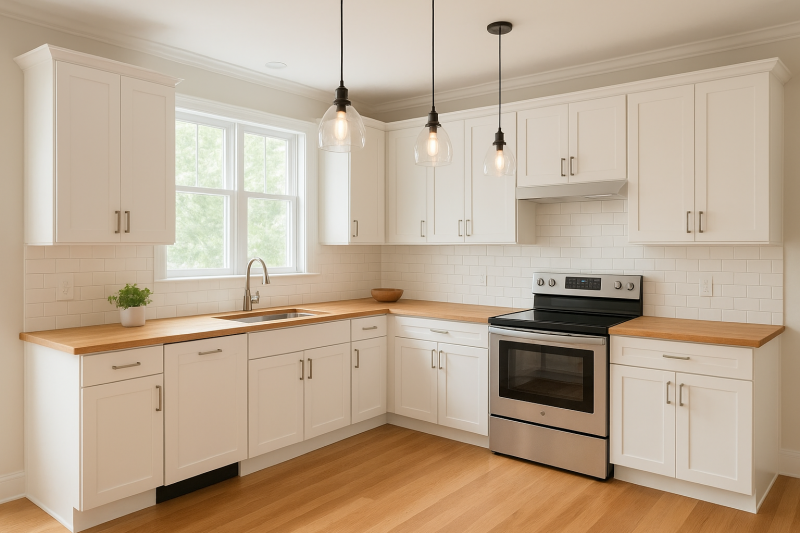
A professionally completed kitchen cabinet installation transforms the look and functionality of the entire room.
What Is Kitchen Cabinet Installation?
Kitchen cabinet installation is the complete process of removing existing cabinetry and securing new cabinet units to walls and floors throughout a kitchen space. It demands careful planning, precise measurements, skilled labor, and coordination around plumbing, electrical outlets, and appliances to produce a seamless, durable result.
The scope of a kitchen cabinet installation project typically includes:
- Demolition and removal of existing cabinets, including disconnecting plumbing or appliances
- Assessment and repair of walls, floors, and any hidden damage exposed during removal
- Precise layout planning and stud location mapping
- Installation of upper wall cabinets and lower base cabinets in sequence
- Fitting and adjusting doors, drawer fronts, hinges, and hardware
- Applying trim, filler strips, crown molding, and finishing details
Types of Kitchen Cabinets: Stock, Semi-Custom, and Custom
The three main cabinet categories carry dramatically different price tags, lead times, and design flexibility. Knowing which type suits your kitchen and budget is critical before you begin any installation planning.
Stock Cabinets
Pre-built in standard sizes and available immediately from big-box retailers or cabinet suppliers. Most budget-friendly, but limited in sizing, finish, and configuration options. Best for kitchens with standard dimensions and layout.
Semi-Custom Cabinets
Built to order with more flexibility in dimensions, finishes, and internal configurations. A strong middle-ground choice for homeowners who want a tailored look without the full price of custom work. Lead time typically runs 4 to 8 weeks.
Custom Cabinets
Built to exact specifications by a cabinetmaker, ideal for unusual layouts, non-standard ceiling heights, or high-end design goals. Maximum flexibility but highest cost and longest lead times — often 8 to 16 weeks or more.
How Much Does Kitchen Cabinet Installation Cost?
The total cost of kitchen cabinet installation varies significantly based on cabinet type, kitchen size, local labor market, and condition of the existing walls and infrastructure. Here is a realistic breakdown of what to expect:
Labor costs typically account for 30% to 50% of the total project cost. On a $15,000 installation, that’s $4,500 to $7,500 in labor alone. Geographic location matters significantly: labor rates in major metro areas can run 20% to 40% higher than in rural markets.
Hidden and Ancillary Costs to Budget For
Many homeowners are caught off guard by costs that emerge once old cabinets are removed. Plan for the following potential add-ons:
- Water damage or mold remediation: $500 – $3,000+ if discovered behind existing cabinets
- Drywall repair and painting: $200 – $800 for patching and repainting exposed wall areas
- Plumbing or electrical adjustments: $300 – $1,500 if fixtures need to be relocated
- New countertops: $2,000 – $8,000+ depending on material and size
- Backsplash installation: $800 – $3,000 for tile work
- Hardware (pulls, knobs, hinges): $150 – $700 for a full kitchen
- Crown molding and trim: $300 – $900 depending on complexity
Budget tip: Always add a 10% to 20% contingency buffer to any kitchen cabinet installation estimate. Unexpected discoveries during demolition — from outdated wiring to subfloor damage — are common and can add thousands to the final bill if you’re not prepared.
Tools You’ll Need for Kitchen Cabinet Installation
Whether you’re tackling installation yourself or simply want to understand what’s involved, here is a complete list of tools required for a professional-quality kitchen cabinet installation:
- ✔ Stud finder
- ✔ 4-foot level (or laser level)
- ✔ Power drill and bits
- ✔ Measuring tape
- ✔ Pencil and chalk line
- ✔ Shims
- ✔ Cabinet screws (2½” to 3″)
- ✔ Circular saw or jigsaw
- ✔ Clamps for joining cabinets
- ✔ Utility knife and pry bar
A laser level is especially valuable for ensuring your upper cabinet reference line is perfectly horizontal across an entire wall run — far more efficient and accurate than a traditional bubble level for longer spans.
Step-by-Step: How Kitchen Cabinet Installation Works
Understanding the full process helps you set realistic expectations, communicate effectively with contractors, and catch potential issues early. Here is a comprehensive, step-by-step walkthrough of a professional kitchen cabinet installation from start to finish:
-
Measure your kitchen and plan the layout carefully.
Measure all walls, ceiling height, and floor area. Note the locations of every window, door, plumbing rough-in, and electrical outlet. Create a scaled drawing or use cabinet planning software to finalize your layout before ordering a single cabinet. Measure twice — or three times. Errors at this stage cost far more to fix later than they do now. -
Order cabinets and confirm lead times well in advance.
Stock cabinets can be purchased same-day, but semi-custom and custom orders require 4 to 16 weeks. Confirm your order details carefully — dimensions, finishes, hinge orientation, and hardware — before submitting. Mistakes on custom orders are expensive and time-consuming to correct. -
Clear and prep the kitchen space.
Remove all appliances, clear countertops, and protect flooring. Turn off water supply lines connected to the sink and disconnect the dishwasher if necessary. Have a temporary kitchen setup ready — access to a microwave, toaster oven, or dining out — for the duration of the project. -
Remove existing cabinets carefully to minimize wall damage.
Start with upper wall cabinets, then base cabinets. Support upper units with a temporary ledger board while unscrewing from studs to prevent them from falling. Use a pry bar gently on base cabinets to avoid gouging flooring. Inspect the exposed walls and floor thoroughly for water damage, mold, pest activity, or outdated wiring — address any issues before proceeding. -
Find the high point of the floor and mark your reference lines.
Use a level to identify the highest point on the floor — this becomes your baseline for all base cabinet heights. From this point, mark a horizontal reference line around the room for the top of the base cabinets (typically 34½ inches from the high point). Then measure up 19½ inches (standard countertop thickness) and mark the reference line for the bottom of your upper cabinets. These lines govern everything that follows. -
Locate and mark all wall studs.
Use a stud finder to locate every stud in your installation area. Mark their centers clearly with a pencil at both the upper and lower cabinet installation heights. All cabinet mounting screws must hit studs — drywall anchors alone are not sufficient to support the weight of loaded kitchen cabinets. -
Install upper wall cabinets first.
Always install upper cabinets before base cabinets — you need the unobstructed access to the wall. Temporarily attach a ledger board along your upper cabinet reference line to support the cabinets while you fasten them. Begin at a corner and work outward. Drive cabinet screws through the mounting rail and into wall studs using a minimum of two screws per stud bay. Check level and plumb after every unit is placed — correct with shims as needed. Clamp adjacent cabinets together and fasten through the face frames before final tightening. -
Install base cabinets, shimming for level.
Begin base cabinet installation at a corner, following your floor reference line. Place shims under the cabinet base as needed to bring each unit to level — floors are almost never perfectly flat. Fasten each base cabinet to wall studs through the mounting rail at the rear. Clamp and screw adjacent base cabinets together through the face frames. Check level front-to-back and side-to-side at each step. -
Install specialty cabinets, corner units, and pantry towers.
Corner cabinet units — whether blind corner or lazy Susan configurations — require special attention to alignment. Pantry or tall tower cabinets must be secured both at the top and bottom to prevent tipping. Follow manufacturer instructions closely for any specialty configurations. -
Cut and fit filler strips where needed.
Gaps between cabinets and walls are normal and expected — walls are rarely perfectly square or straight. Rip filler strips from matching material and scribe them to the wall profile using a compass. Scribe filler strips fill these gaps cleanly and give the installation a custom, built-in appearance. -
Hang doors and install drawer fronts.
Attach cabinet doors using the supplied hinges. Most modern cabinet hinges are fully adjustable in three dimensions — up/down, in/out, and side-to-side. Take time to adjust each door so the reveal (gap between door edge and frame) is perfectly consistent — typically ⅛ inch all around. Install drawer fronts, adjusting for alignment. Even gaps throughout the entire run make an enormous visual difference in the finished result. -
Apply hardware, trim, and finishing details.
Install pulls, knobs, or bar handles using a hardware jig to ensure perfectly consistent placement across all doors and drawers. Apply crown molding, light rail molding, and toe kick panels to complete the finished look. Touch up any paint or finish at screw holes or cut edges. Remove the ledger board and patch any wall marks left from the temporary support.
A professional crew typically completes a standard kitchen cabinet installation in two to five days. Larger kitchens, custom-order lead times, or significant wall repairs can extend the timeline to one to two weeks or more.
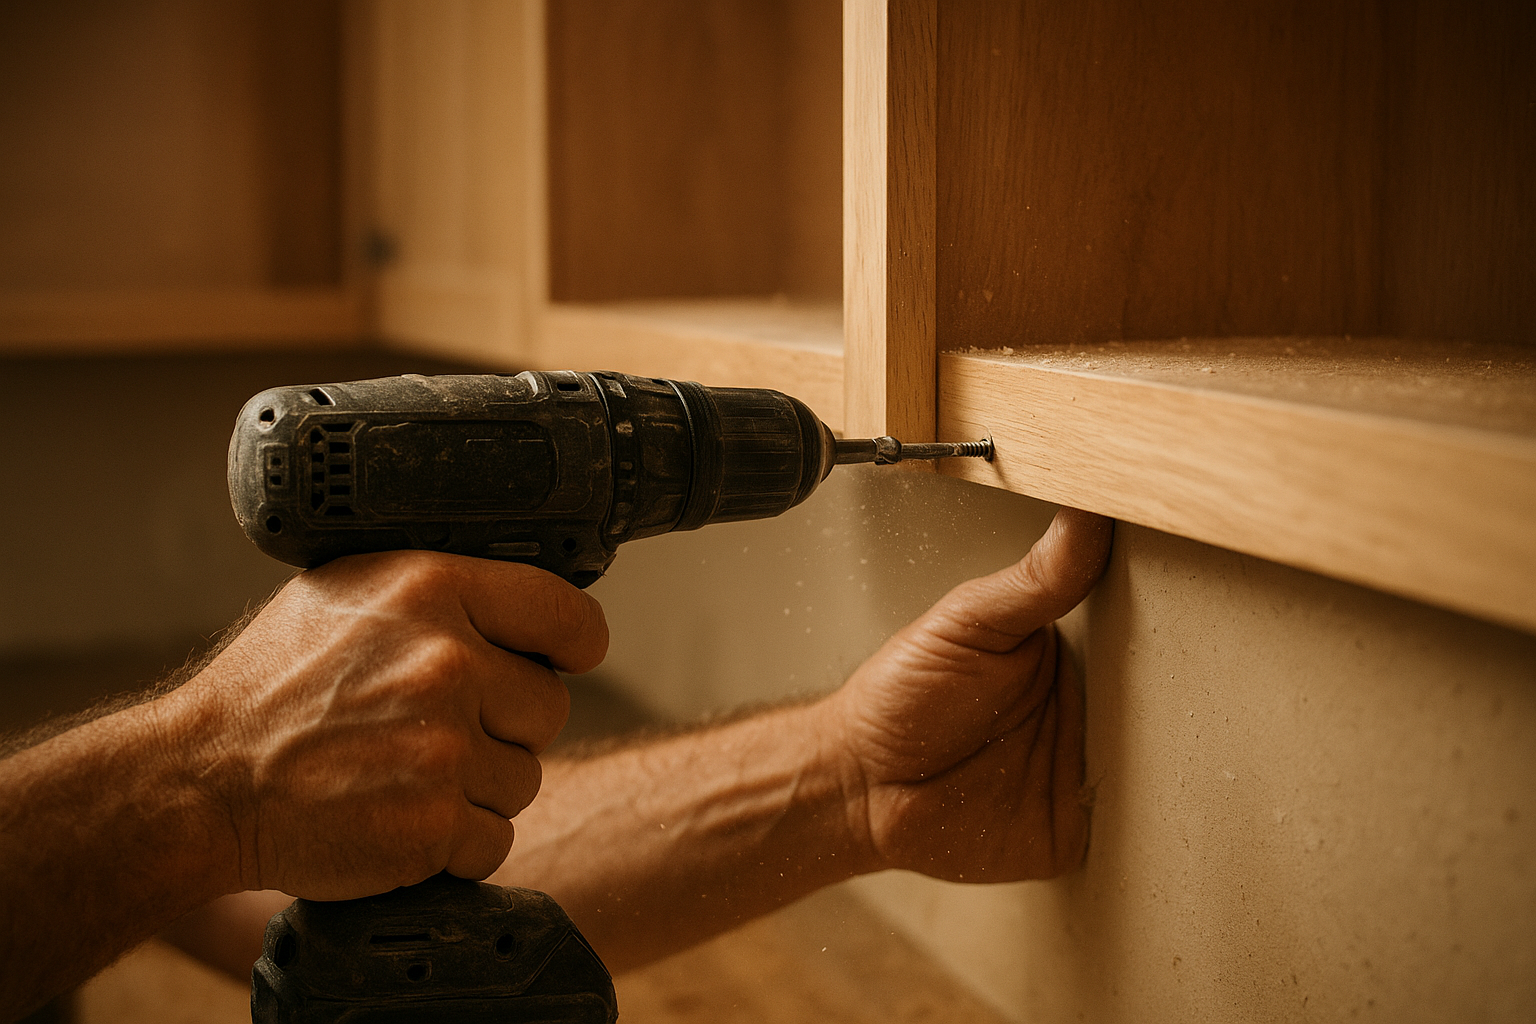
Proper anchoring to wall studs is a critical step in any kitchen cabinet installation to ensure long-term stability.
DIY vs. Professional Kitchen Cabinet Installation
The appeal of DIY cabinet installation is obvious: labor accounts for 30% to 50% of total project cost, so doing it yourself could theoretically save $4,000 to $12,000 or more. But the reality of self-installation is more nuanced than it appears.
What DIY Cabinet Installation Really Requires
- Confident carpentry skills and experience reading level and plumb
- Access to a full set of professional-grade tools (see the tools list above)
- A helper — virtually no stage of cabinet installation is a one-person job
- Ability to troubleshoot walls that are out of square, floors that are uneven, and gaps that need scribing
- Several full days of uninterrupted time with a kitchen that’s out of service
The most common DIY mistakes in kitchen cabinet installation include cabinets that aren’t secured to studs, uneven reveals between doors, base cabinets that aren’t level (causing countertops to slope), and improperly fitted filler strips that leave visible gaps. Any of these issues can require partial disassembly and reinstallation to correct — erasing the labor savings quickly.
Why Professional Installation Is Worth It for Most Homeowners
Professional cabinet installers bring precision tools, pattern-recognized problem-solving, and accountability to every project. They also typically provide a workmanship warranty — meaning if something shifts, gaps, or fails within the warranty period, it’s corrected at no cost. For a project involving tens of thousands of dollars in cabinets, the additional peace of mind has real monetary value.
The honest verdict: DIY is viable for experienced carpenters installing stock cabinets in a straightforward layout. For everyone else — especially those working with semi-custom or custom cabinets, unusual room configurations, or limited tool access — hiring a professional produces a better result and protects a significant investment.
Do You Need a Permit for Kitchen Cabinet Installation?
In most jurisdictions, a straight cabinet replacement — removing old units and installing new ones in the same locations — does not require a building permit. However, permits are typically required when the project involves:
- Moving or adding plumbing lines (sink relocation, dishwasher rough-in)
- Moving or adding electrical circuits or outlets
- Structural wall changes (removing a wall to reconfigure the kitchen layout)
- Adding new ventilation or range hood ducting through the exterior
Always check with your local municipality or building department before beginning work. Permit requirements vary by city and county. Unpermitted work that required a permit can create complications when you sell your home, potentially requiring costly after-the-fact inspections or corrections.
Is Cabinet Refacing a Smarter Alternative to Full Installation?
For a significant portion of homeowners, a full kitchen cabinet installation is simply not necessary. If your existing cabinet boxes are structurally sound — no warping, water damage, or structural failure — Kitchen refacing guide can deliver a dramatic, room-transforming result at 40% to 50% less than full replacement.
Refacing replaces only the visible surfaces: doors, drawer fronts, and the exterior veneer applied to the cabinet boxes. Learn the full cabinet refacing process so you know what to expect. The existing interior structure — already anchored to your walls and floors — stays in place. The result looks and functions like a brand-new kitchen, in just two to four days, with minimal disruption and no drywall repairs, plumbing disconnections, or flooring damage.
Refacing vs. Full Installation: A Direct Comparison
When Full Cabinet Installation Is the Right Choice
Full kitchen cabinet installation makes the most sense when:
- Cabinet boxes are warped, water-damaged, infested, or structurally compromised
- You want to reconfigure the kitchen layout — moving cabinets to new locations, adding an island, or opening a wall
- Existing cabinets lack modern features like soft-close hinges, pull-out shelves, or roll-out trash organizers that you specifically want
- Your cabinets are so old that refacing materials won’t adhere properly to the box surface
- You’re doing a comprehensive whole-kitchen renovation that includes new appliances, countertops, and flooring
Cincinnati Homeowner Tip: Not sure whether your cabinets need full replacement or could be transformed with refacing? The team at Kitchen Transformations Cabinet Refacing serves homeowners throughout the greater Cincinnati area and provides honest, no-pressure evaluations. Their focused expertise in cabinet refacing makes them a trusted refacing services in Cincinnati — and they’ll tell you straight if replacement makes more sense for your situation.
Choosing the Right Cabinet Style and Finish
Whether you’re pursuing a full kitchen cabinet installation or a refacing update, door style and finish selection shapes the entire look of the room. According to Houzz’s 2024 Kitchen Trends Study, shaker-style doors remain the dominant choice among remodeling homeowners — valued for their clean lines and compatibility with both traditional and contemporary kitchens.
Most Popular Cabinet Door Styles
- Shaker: Five-piece frame-and-panel construction with a recessed center panel. Versatile, timeless, and the most widely chosen style across all kitchen design categories. For a deeper walkthrough, see our Kitchen Design Consultation Guide for Cincinnati Homes.
- Flat-panel (slab): A single flat piece with no frame or panel detail. Ideal for modern, minimalist, or contemporary kitchens. Easy to clean.
- Raised-panel: A center panel that rises above the frame profile. Classic and ornate, most at home in traditional or transitional kitchen designs.
- Beadboard: Vertical groove detailing on the panel face. Works well in cottage, farmhouse, or coastal-inspired kitchens.
- Glass-front: Upper cabinets with glass inserts for displaying dishes or adding visual depth. Often paired with solid doors on base cabinets.
Cabinet Finish Trends
Painted finishes — particularly white, off-white, and soft gray — continue to lead kitchen design trends, offering a bright, clean aesthetic that appeals broadly. However, natural wood stains are seeing a strong resurgence, especially in warmer tones like white oak, walnut, and honey maple. Two-tone kitchens — painted uppers and stained or contrasting-color lowers — are increasingly popular in contemporary remodels.
Hardware: The Detail That Makes or Breaks the Look
Cabinet hardware is frequently underestimated, but it has an outsized impact on the final look of a kitchen installation. Current trends favor brushed brass, matte black, and satin nickel in simple bar-pull or cup-pull profiles. Knobs are gaining ground in more traditional designs, while long bar pulls visually elongate drawer fronts and upper doors in modern kitchens.
Regardless of style, upgrading to soft-close hinges during any cabinet project — installation or refacing — is consistently one of the highest-value small investments you can make. Soft-close mechanisms reduce door impact, minimize long-term wear on frames, and add a premium feel that most homeowners notice and appreciate every single day.
For real-world inspiration, browse the Kitchen Transformations project gallery to see completed Cincinnati-area cabinet projects across a wide range of styles and finishes.
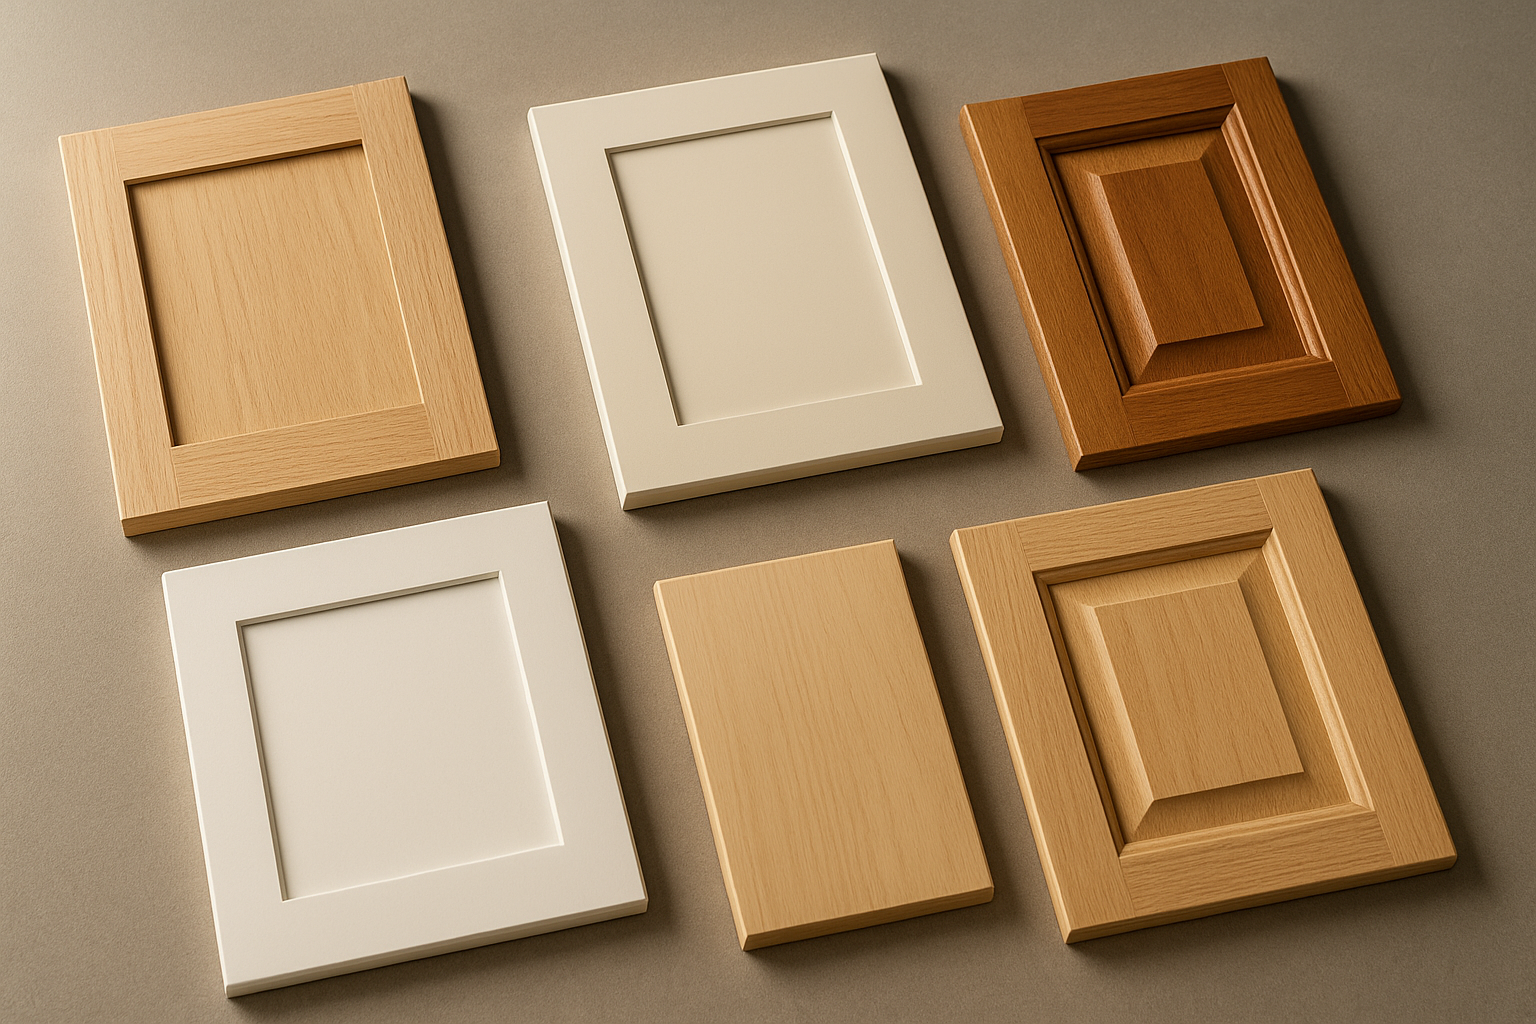
Choosing the right door style is a key decision in any kitchen cabinet installation or refacing project. For a deeper walkthrough, see our Can I Do Cabinet Refacing Myself? DIY vs. Professional Refacing Explained.
How to Maximize Storage in Your New Cabinet Layout
One of the biggest advantages of a full kitchen cabinet installation is the opportunity to dramatically improve storage organization. Beyond simply replacing old units, thoughtful interior fitting can transform how you use your kitchen every day. See cabinet storage solutions for smart organizer ideas.
High-Value Cabinet Interior Upgrades to Consider
- Pull-out shelves and roll-out trays: Transform deep base cabinets from dead-zone storage into fully accessible, organized space. One of the most universally appreciated cabinet upgrades.
- Drawer-within-a-drawer configurations: Adds a hidden shallow drawer inside a deeper drawer for cutlery organization or spice storage.
- Lazy Susan corner solutions: Rotating shelves that make corner cabinet dead space fully accessible and usable.
- Built-in spice pull-outs: Narrow vertical pull-out cabinets that fit between the stove and adjacent cabinetry, maximizing every inch of available space.
- Trash and recycling pull-outs: Integrated solutions that keep waste bins hidden inside a base cabinet, accessed by pulling out the door and bin frame together.
- Plate rack and tray dividers: Vertical dividers in upper cabinets for organized storage of baking sheets, cutting boards, and serving platters.
- Under-cabinet lighting: LED strip or puck lights mounted beneath upper cabinets illuminate countertops and make the entire kitchen feel larger and more functional.
How to Evaluate a Kitchen Cabinet Installation Quote
Getting multiple quotes is standard practice for any significant home improvement project, but knowing what to look for in a cabinet installation quote separates informed homeowners from those who regret their contractor choice later. See advice from local cabinet experts when evaluating materials, labor, and warranties.
What a Solid Cabinet Installation Quote Should Include
- Itemized cabinet list: Each cabinet unit listed by size, style, quantity, and unit cost — not a single lump “cabinet” line item
- Labor costs broken out separately from material costs
- Demolition and disposal fees: Who removes the old cabinets and hauls them away, and at what cost
- Scope of wall preparation included vs. billed separately
- Hardware inclusion or exclusion — some quotes include hardware, others do not
- Warranty terms: What is covered, for how long, and what isn’t
- Payment schedule: A reasonable split (e.g., 30% deposit, 40% on delivery, 30% on completion) — be wary of contractors requesting more than 50% upfront
Request at least three quotes from licensed, insured contractors with verifiable local references and completed project portfolios you can review. The lowest bid is not always the best value — compare what’s included, the quality of materials specified, and the contractor’s communication responsiveness before deciding.
Frequently Asked Questions About Kitchen Cabinet Installation
Ready to Transform Your Kitchen? Start With a Conversation
Whether you’re weighing a full cabinet replacement or exploring whether refacing could deliver the transformation you’re after, getting an expert opinion first is always the smartest move. For Cincinnati-area homeowners, Kitchen Transformations Cabinet Refacing specializes in helping homeowners find the right path forward — one that aligns with their vision, their kitchen’s actual condition, and their budget. Their streamlined process minimizes downtime so your kitchen is back in full operation as quickly as possible. Learn about contemporary cabinet refacing options.
Explore their completed work in the project gallery or reach out through the contact page to schedule a consultation. There’s no obligation — just straightforward, personalized guidance from a team that knows Cincinnati kitchens inside and out.
Conclusion
Kitchen cabinet installation is one of the most impactful investments you can make in your home — transforming how the room looks, how it functions, and how much daily life in it is enjoyed. But it is also one of the most significant undertakings in terms of cost, disruption, and planning required. Understanding the full process — from measuring and ordering to demolition, installation, and finishing — helps you set realistic expectations and make confident decisions at every stage.
Just as importantly, knowing when cabinet refacing is the smarter alternative can save you thousands of dollars and days of disruption while delivering a result that’s every bit as dramatic as full replacement. Whether you choose a complete kitchen cabinet installation or a targeted refacing update, the outcome is a kitchen that better reflects your style, supports your household, and adds genuine value to your home.